Quick Start Guide
- 1. EC Alert Me: User Sign Up
- 2. EC Alert Me: Login
- 3. Creating a New EC Alert
- 4. View Recent Emailed Alerts
- 5. Logout
1. EC Alert Me: User Sign Up
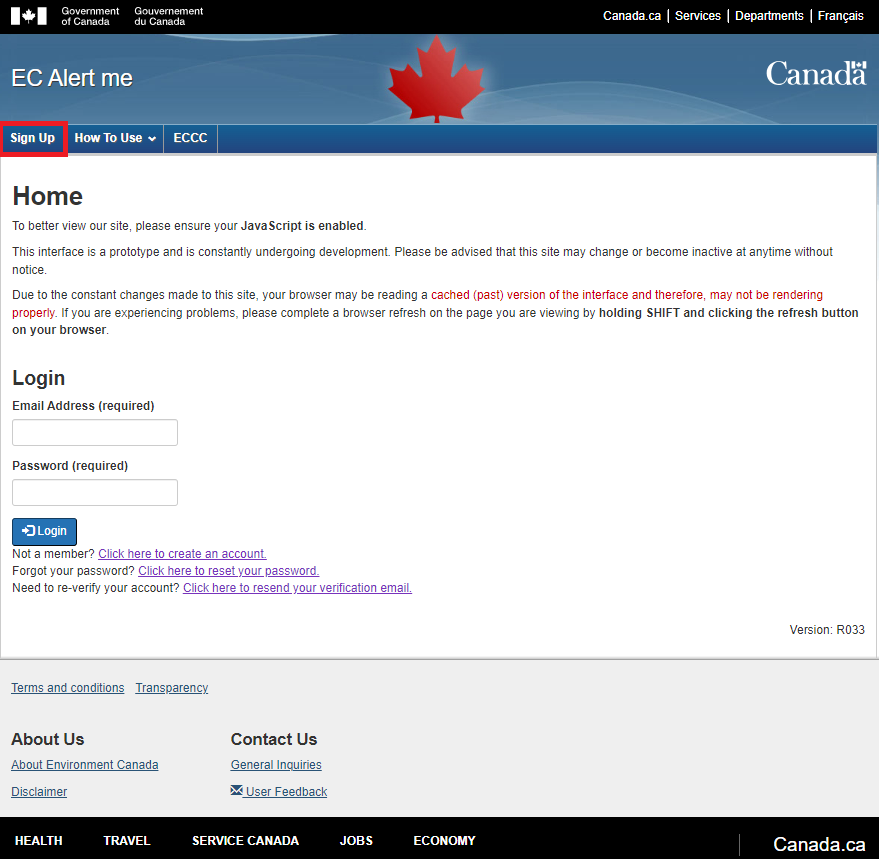
Select the "Sign Up" tab in the top menu and fill out the necessary information and agree to the terms of use to register.
Once you’ve created a new account, you will receive an email entitled "EC Alert me: Please Verify Your New Account".
*Note: You will have to verify your account before you’re able to login.
2. EC Alert Me: Login
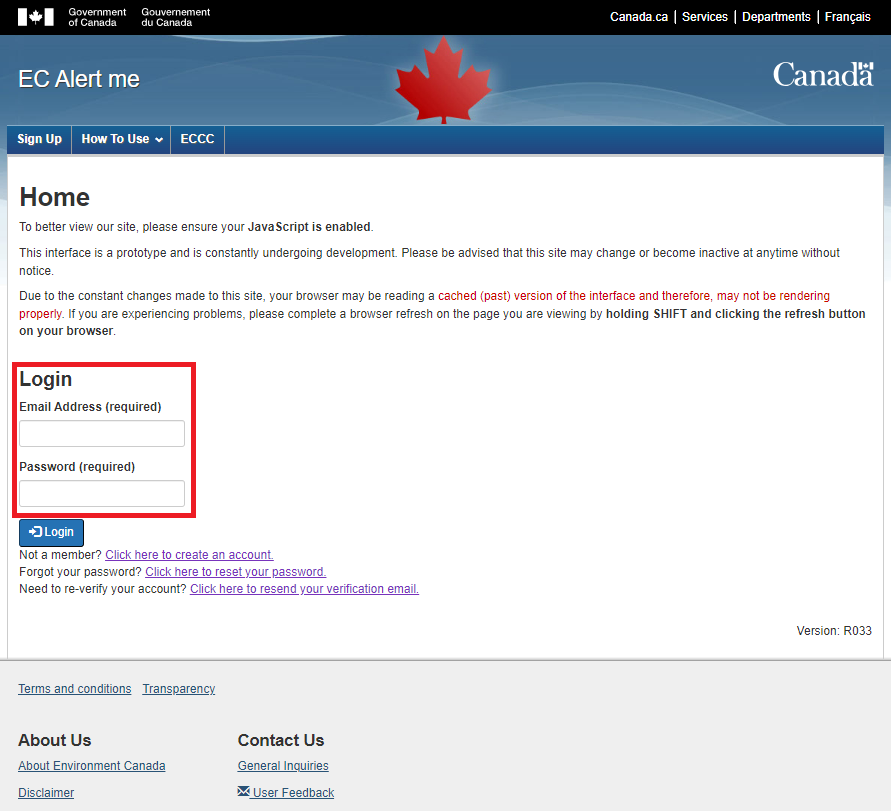
Enter your email and password on the "Login" page.
Enter your email and password on the “Login” page.
3. Creating a New EC Alert
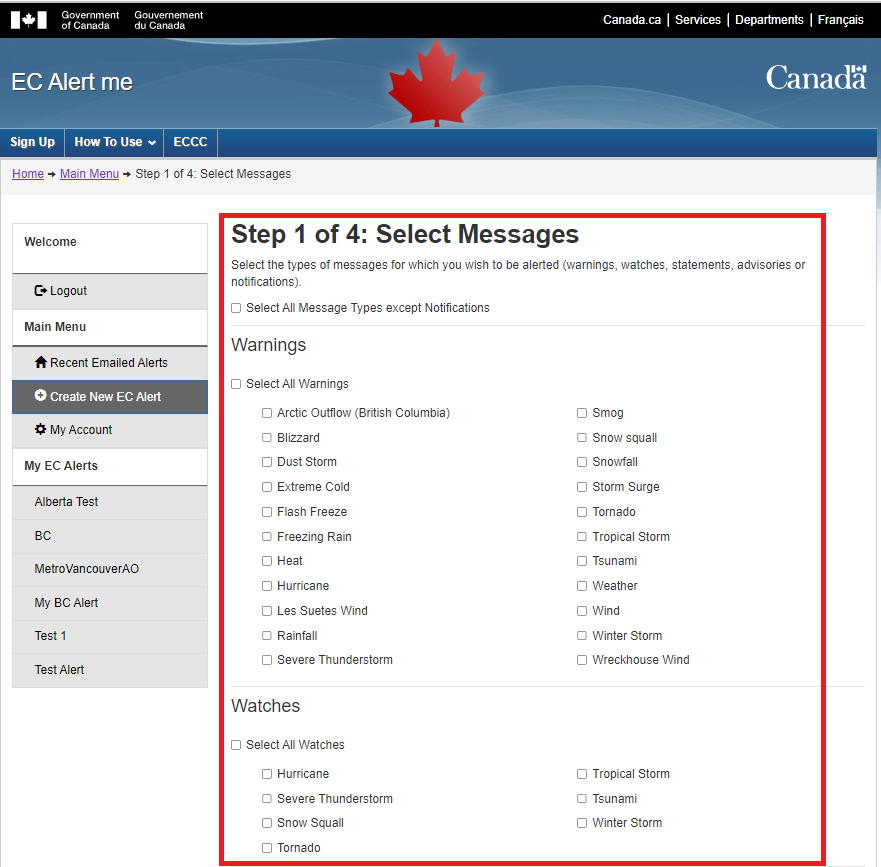
Select the "Create New EC Alert" link in the left hand menu.

3.1. Step 1 of 4: Select Messages
Select the type of messages for which you wish to be alerted.
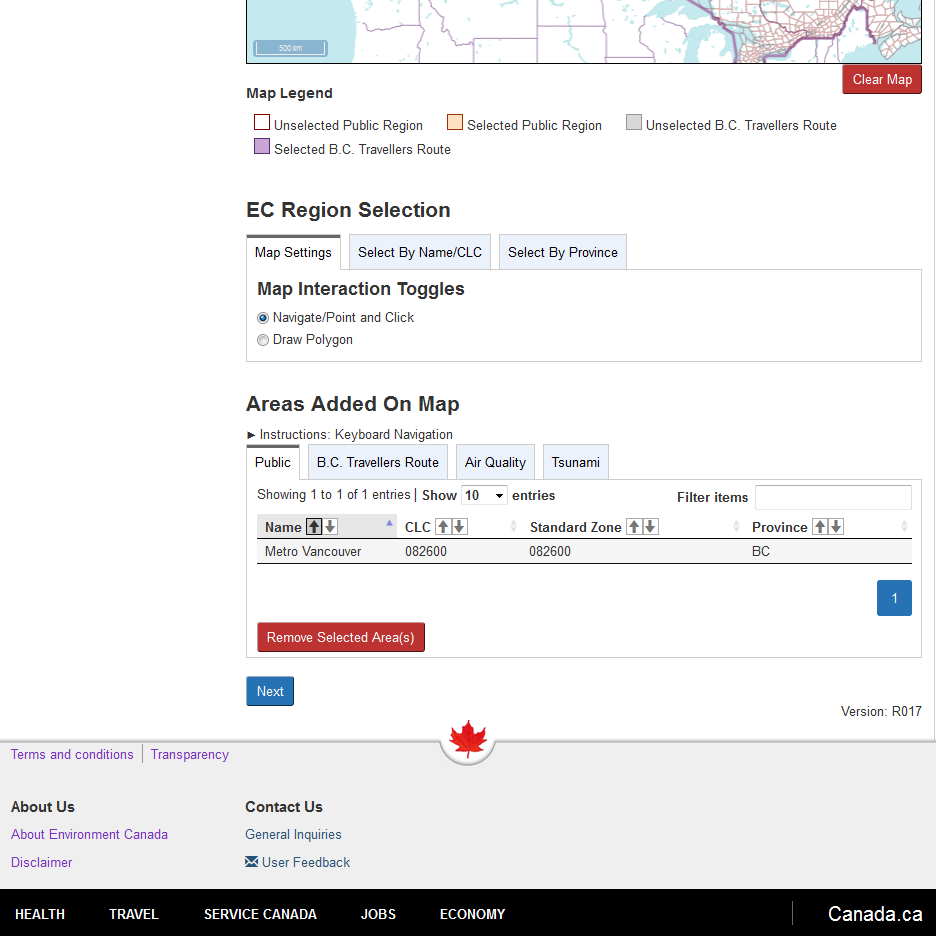
3.2. Step 2 of 4: Create Alert Area
Step two enables you to choose the regions for which you want to be alerted.
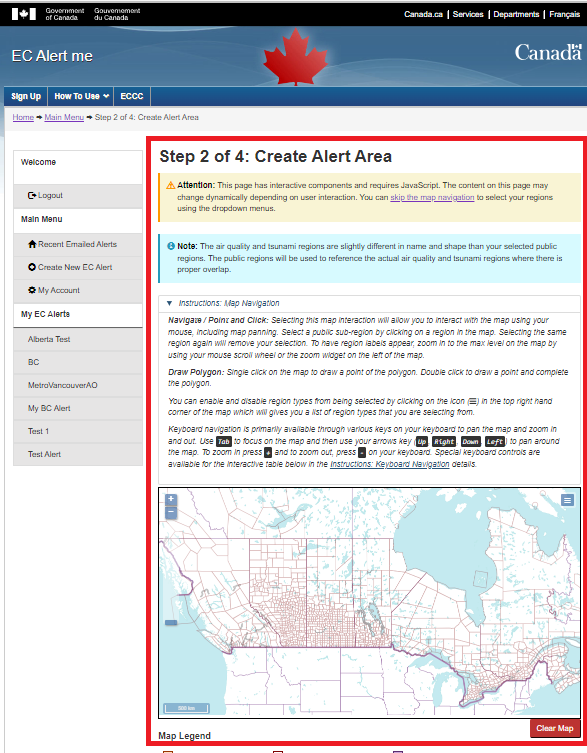
Different tabs allow you to select regions by using the interactive map, by name or CLC, or by province.
- Layer Switcher
- At the top right side of the map, click on the blue menu control for the layer switcher to appear.
- If a layer is not selected for display, they cannot be selected through Point and Click or by drawing a polygon.
-
The Map Settings Tab:
- Select the layers to be displayed under "Map Layers To Display" section. This will activate/deactivate layers to be displayed on the map
- Single click on the map to select a region. Clicking on the same polygon (multi-sided zone) will deselect it.
- Use the "Draw Polygon" tool to select multiple regions. Single click on the map to draw a point of the polygon. Double click to draw a point and complete the polygon.
-
Select By Name/CLC Tab:
- Select the name of your province
- Select your region by name or by CLC
-
Select By Province Tab:
- Check the province you wish to select. The entire province will be selected
The selected regions will appear highlighted on the map as well as in the table:
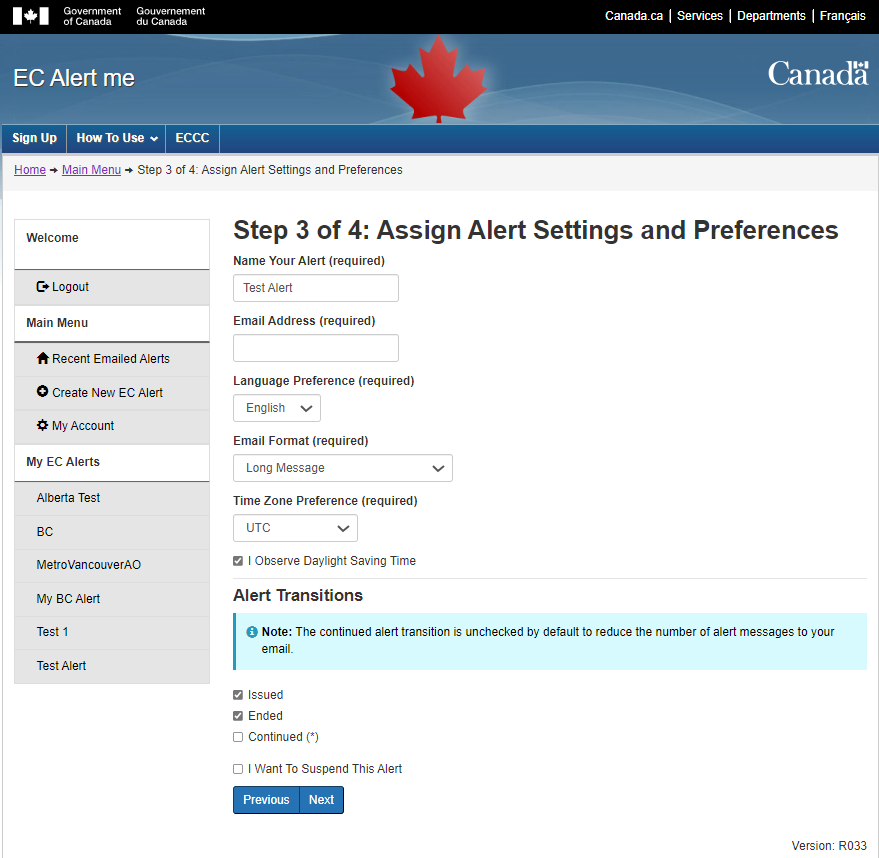
3.3. Step 3 of 4: Assign Alert Settings and Preferences
Fill in the fields: “Name Your Alert” and “Email address”(if you wish to change the default email address).
Select your preference from the drop down menus:
- Language Preference: English, French or Both
- Email Format: Long message or Short message (140 characters)
- Time Zone Preference: UTC, Pacific, Mountain, Central, Eastern, Atlantic or Newfoundland
Select the “I observe Daylight Saving Time” checkbox if you want to obtain your alerts with the daylight saving time.
Select the Alert Transition by checking the box of those you wish to subscribe to :
- Issued, Continued, and/or Ended
*Note: The alert transitions “Issued” and “Ended” will automatically be selected.
If you no longer wish to receive alert messages, select the “I want to Suspend This Alert” checkbox.
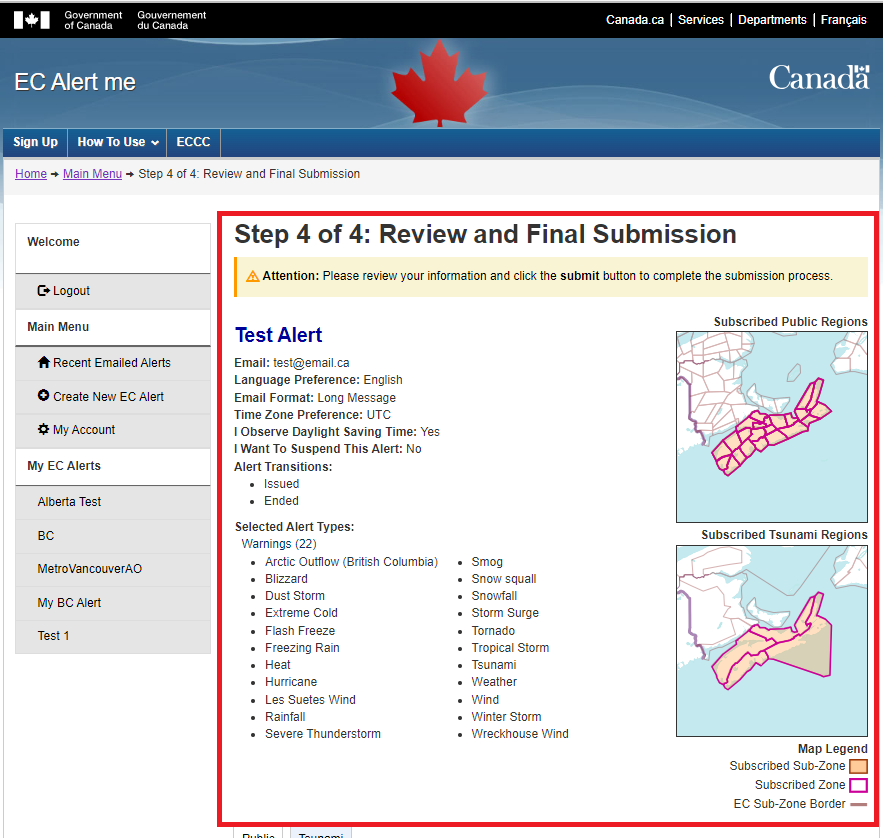
3.4. Step 4 of 4: Review and Final Submission
Submit the newly created alert once you've reviewed the summary page.
*Note: The user’s message type selection in “Step 1 of 4: Select Messages” will affect the map display in the right-hand side of the page. If the user has selected messages that are related to all programs (Public, Air Quality, Traveller’s route, Tsunami and Coastal Flooding), all five maps will appear.
**Note: These maps will display the different regions that the user has selected. The regions are represented differently in the five programs.
***Note: The regions represented in the map are also listed in their respective tab according to program at the bottom of the page.
Once you’ve created a new alert, you will receive an email entitled "Confirmation Notice – Alert Created for <name of alert>".
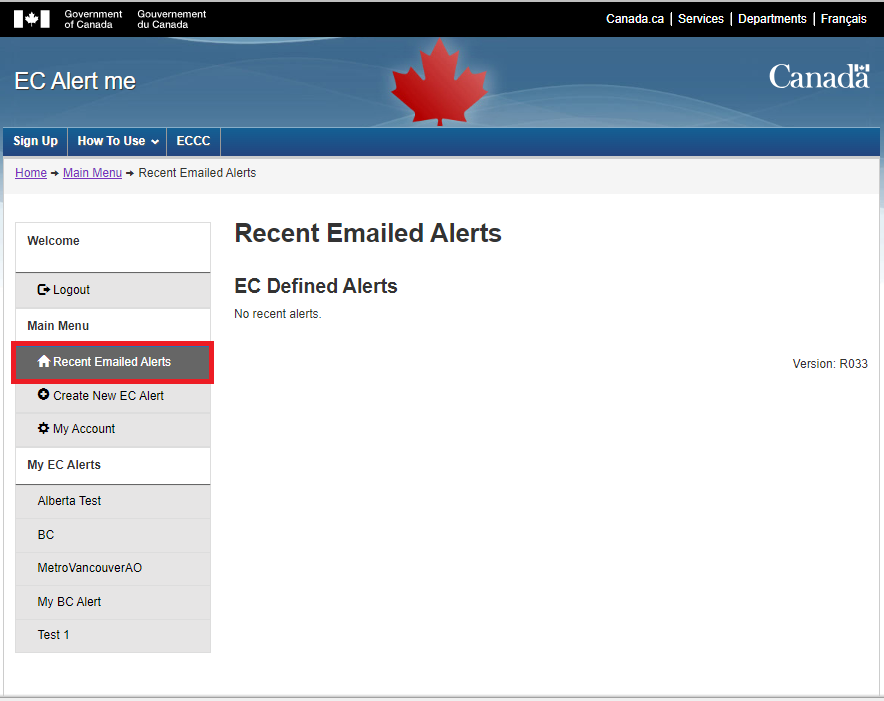
4. View Recent Emailed Alerts
Select the "Recent Emailed Alerts" link in the left menu to view details of previous alerts.
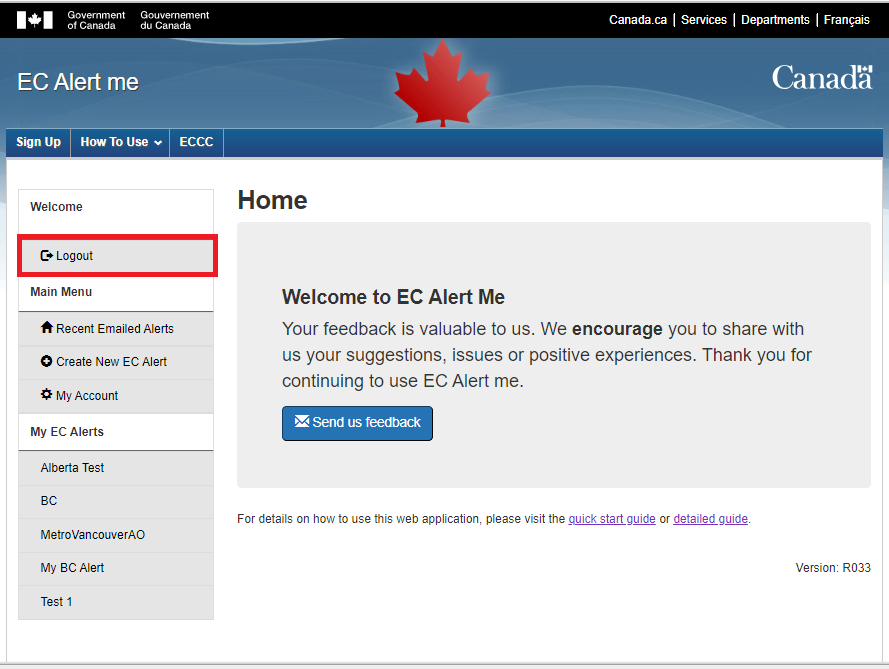
5. Logout
Select the "Logout" link in the left menu.
- Version:
- R039